Best Practices for Shower Installation in Fort Wayne, Indiana (2026)
Best Practices for Shower Installation in Fort Wayne, Indiana (2026)
Best Practices for Shower Installation in Fort Wayne, Indiana (2026)
When most homeowners think about a shower remodel, they focus on the finished product.
They think about:
- Tile
- Glass
- Fixtures
- Design
- Overall aesthetics
But the most important part of a shower remodel is usually the part homeowners never see.
It’s the waterproofing system underneath.
At Faze Construction, we believe the long-term success of a shower installation depends on what happens behind the walls and beneath the tile—not just how beautiful the final shower looks.
Let’s walk through the best practices for installing a shower in Fort Wayne, Indiana.
Step 1: Fully Demo the Existing Shower
Every quality shower remodel starts with proper demolition.
This means removing:
- Old shower systems
- Existing surround
- Old waterproofing materials
- Fixtures
- Plumbing trim
A full demolition gives you access to the structure underneath.
This is critical because it allows the installer to inspect everything before rebuilding.
Skipping proper demolition can allow hidden problems to remain buried inside the wall system.
Step 2: Inspect the Foundation & Structural Components
Once demolition is complete, the next step is evaluating the structure.
This includes checking:
- Subfloor
- Floor joists
- Framing
- Overall levelness
The goal is to ensure there is a solid, stable, level foundation for the new shower system.
Common problems we find include:
- Rot
- Water damage
- Soft subfloor
- Uneven surfaces
Any structural issues should be corrected before moving forward.
A premium shower system starts with a strong foundation.
Step 3: Inspect Plumbing & Drain Systems
Before waterproofing begins, all plumbing systems should be inspected.
This includes checking:
- Traps
- Drain assemblies
- Pipework
- Supply lines
- Connection points
The goal is to identify any:
- Corrosion
- Rust
- Existing leaks
- Plumbing weaknesses
This step is critical.
You do not want hidden plumbing issues underneath a brand-new shower system.
All plumbing should be roughed in and confirmed to be functioning properly before installation continues.
Step 4: Install the Waterproofing System
This is the most important step in the entire shower installation.
The waterproofing system is what protects your home from long-term water damage.
At Faze Construction, we use professional waterproofing systems designed to create a complete moisture barrier.
This may include systems such as:
- GoBoard waterproof boards
- Waterproof tape systems
- Waterproof sealants and mud systems
These materials create a sealed waterproof environment behind the finished shower surface.
Every seam, corner, and transition point must be properly sealed.
This step requires precision.
Step 5: Build & Waterproof the Shower Pan
The shower pan is the base waterproofing system of the shower.
Its job is simple:
Direct water safely toward the drain.
The pan must be built with the proper slope to ensure water flows correctly.
Improper slope can cause:
- Pooling water
- Drainage issues
- Long-term water damage
Once the pan is complete, best practice is to perform a flood test.
Step 6: Perform a 24-Hour Flood Test
This is one of the most important quality control steps.
The shower pan is filled with water and left to sit for 24 hours.
A water level line is marked before testing begins.
After 24 hours, the water level is checked.
If the water level drops:
The pan is failing and must be repaired.
If the water level remains consistent:
The waterproofing system is functioning properly.
This test verifies the shower system is sealed before moving forward.
Skipping this step increases the risk of hidden leaks.
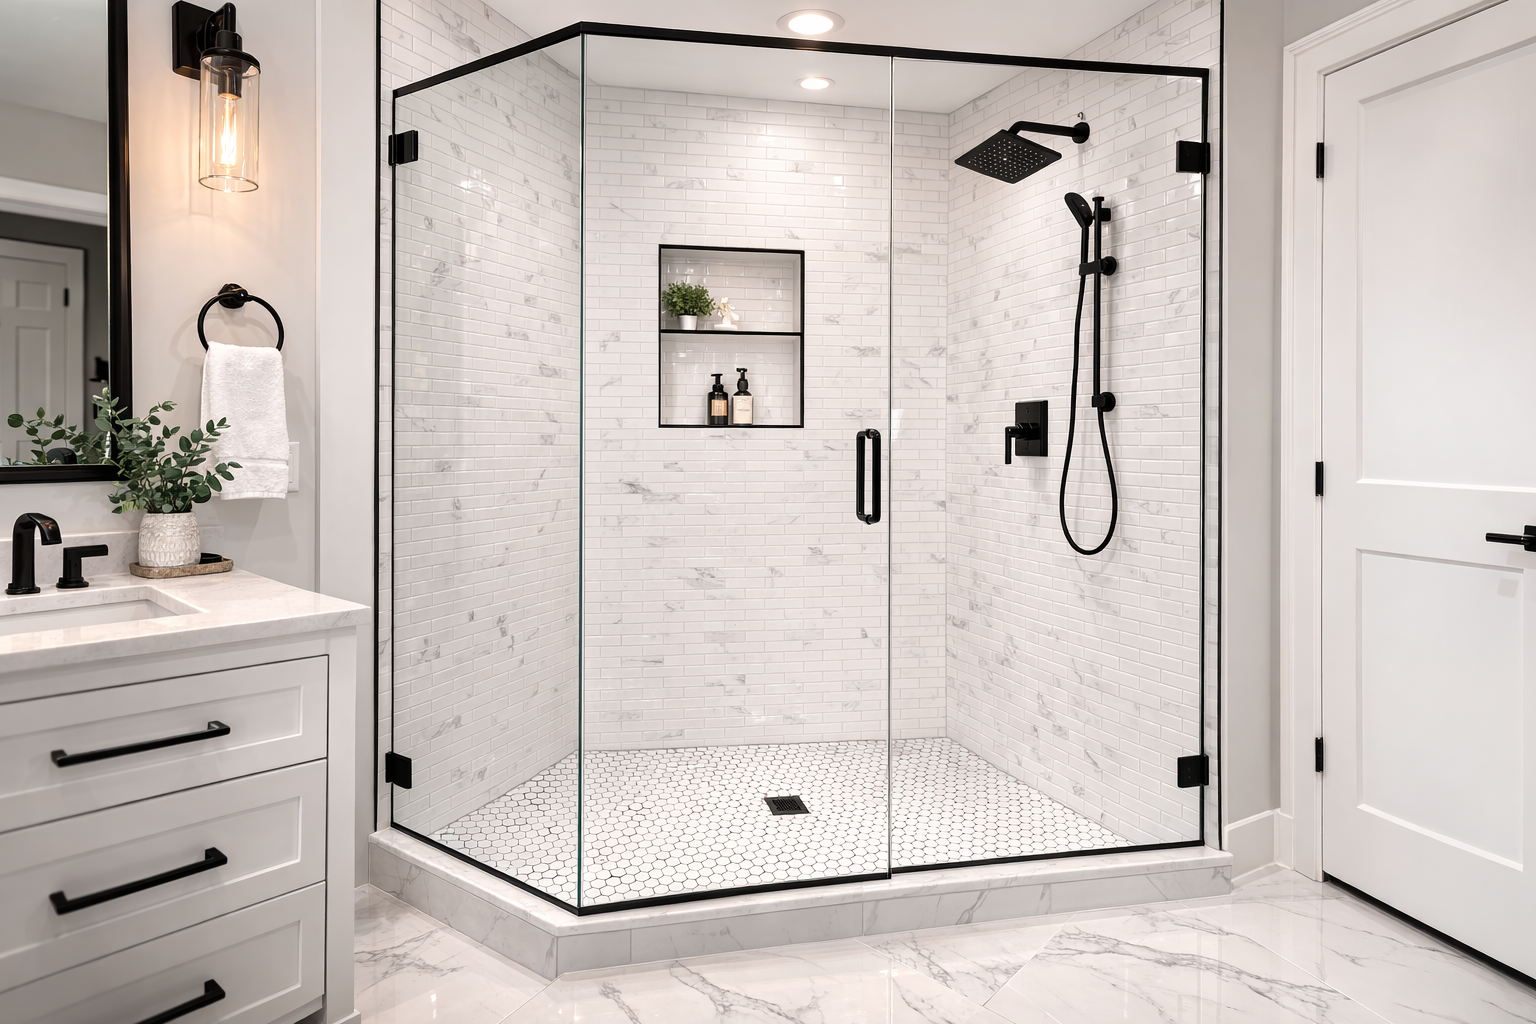
Step 7: Install the Finished Shower System
Once waterproofing is complete and the flood test passes, installation of the finished shower begins.
The final system may include:
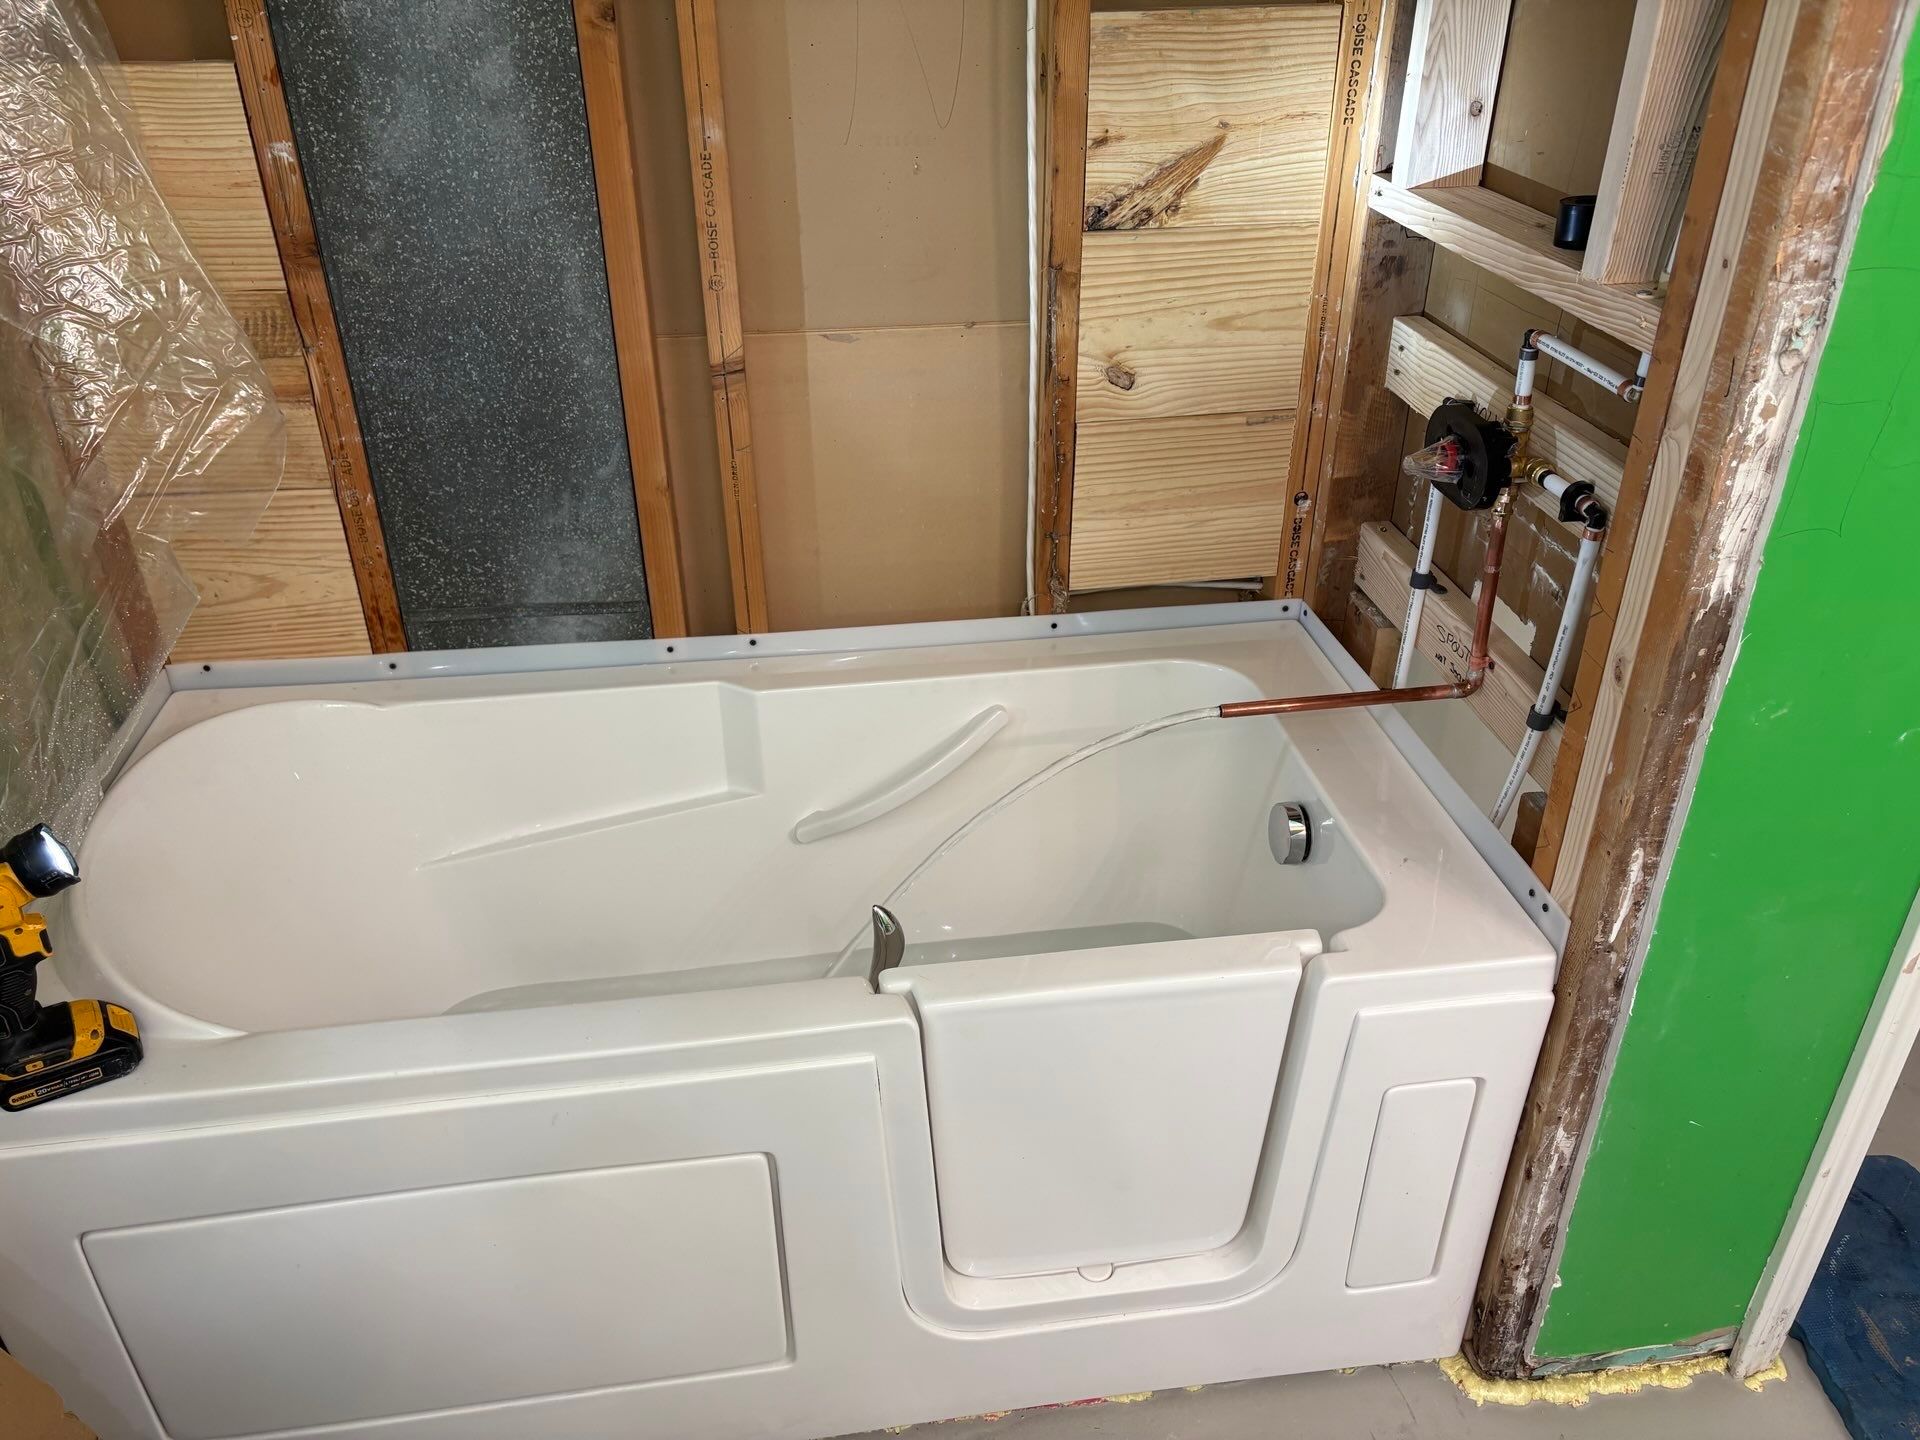
- Fiberglass units
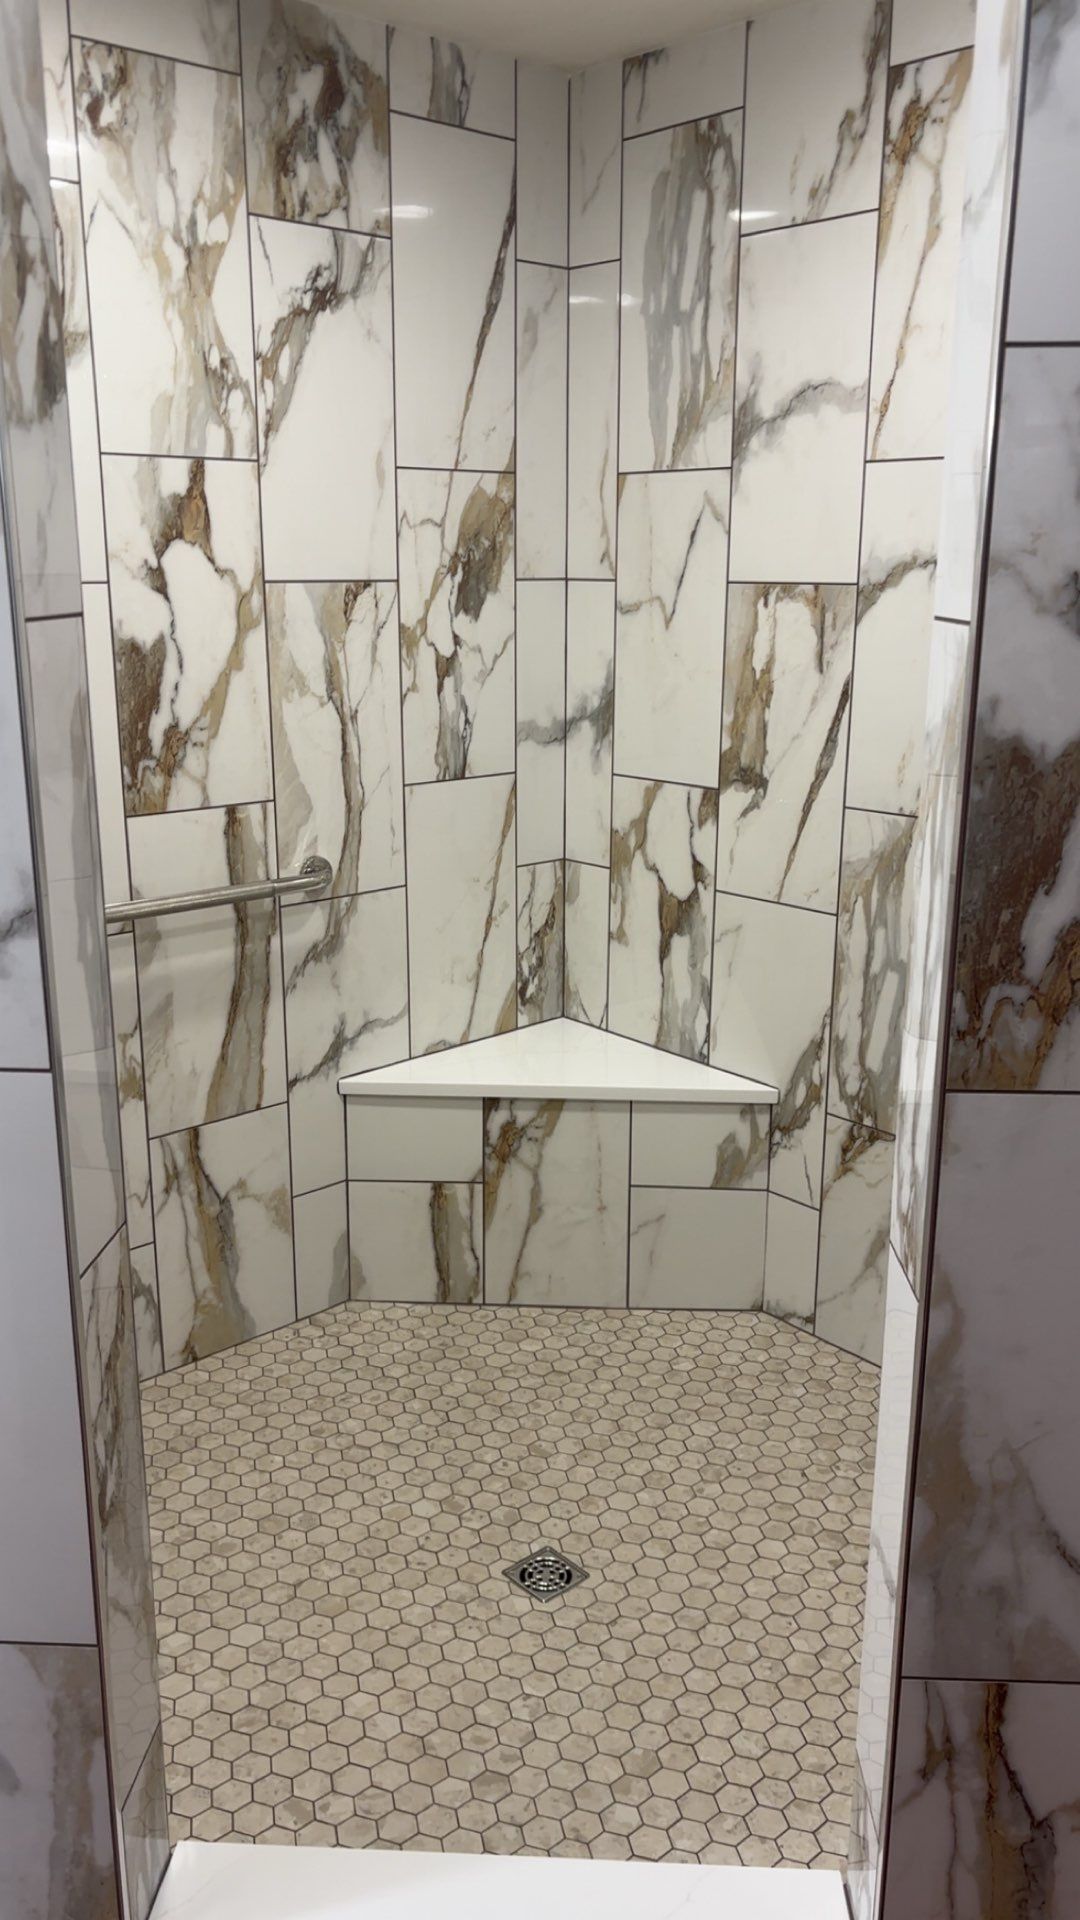
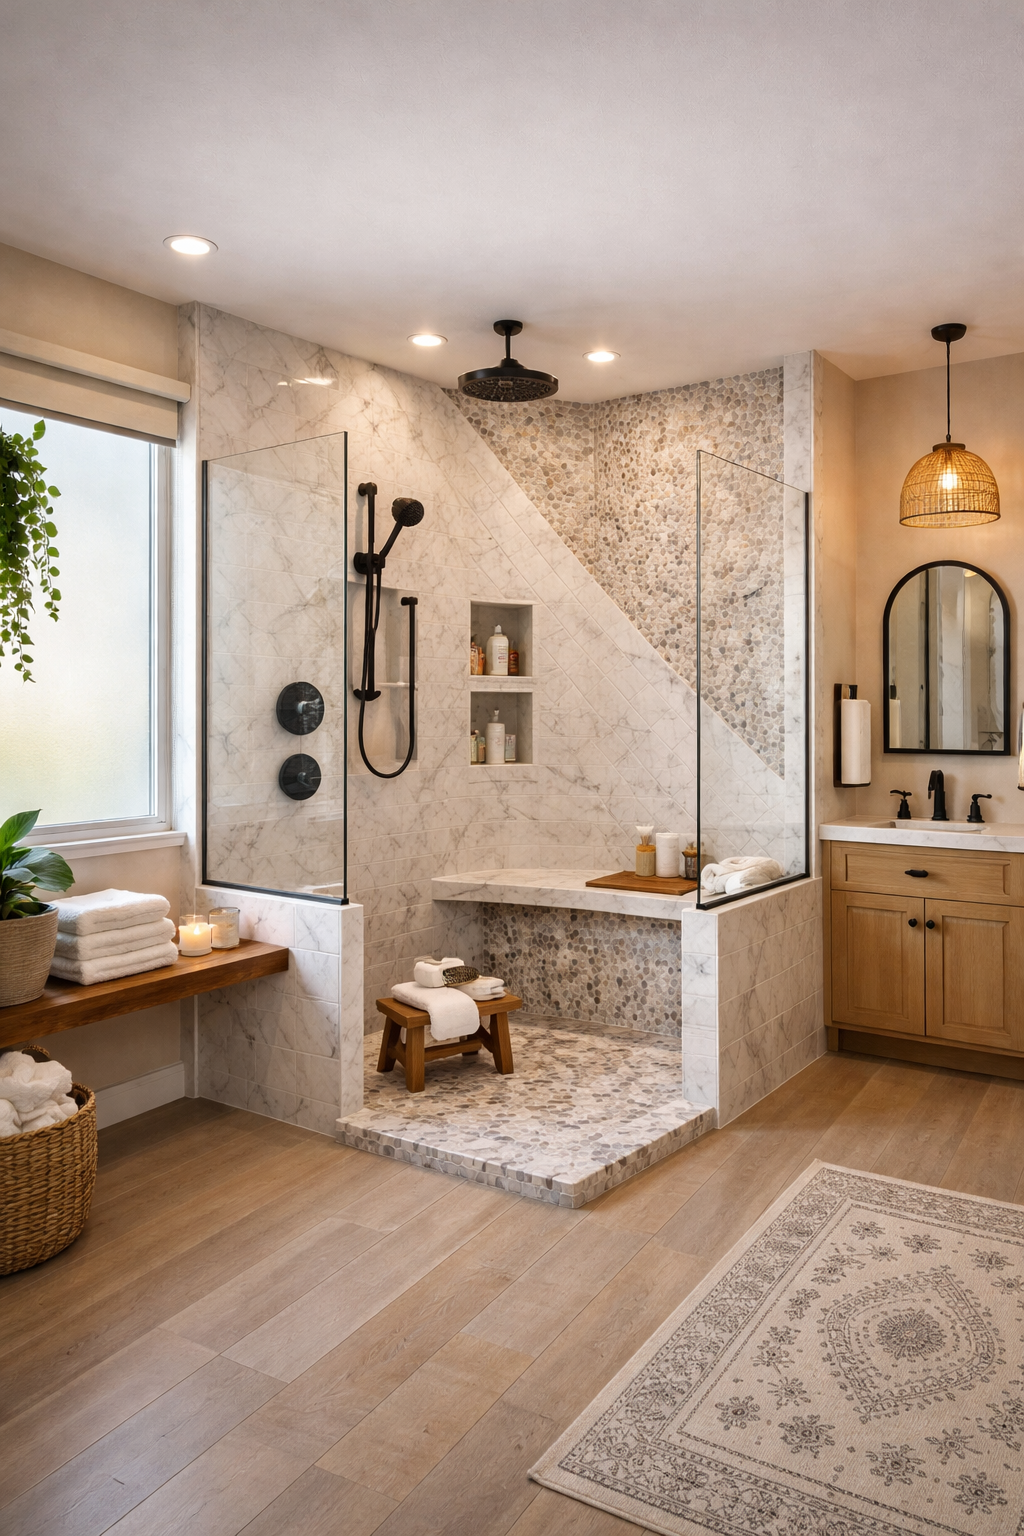
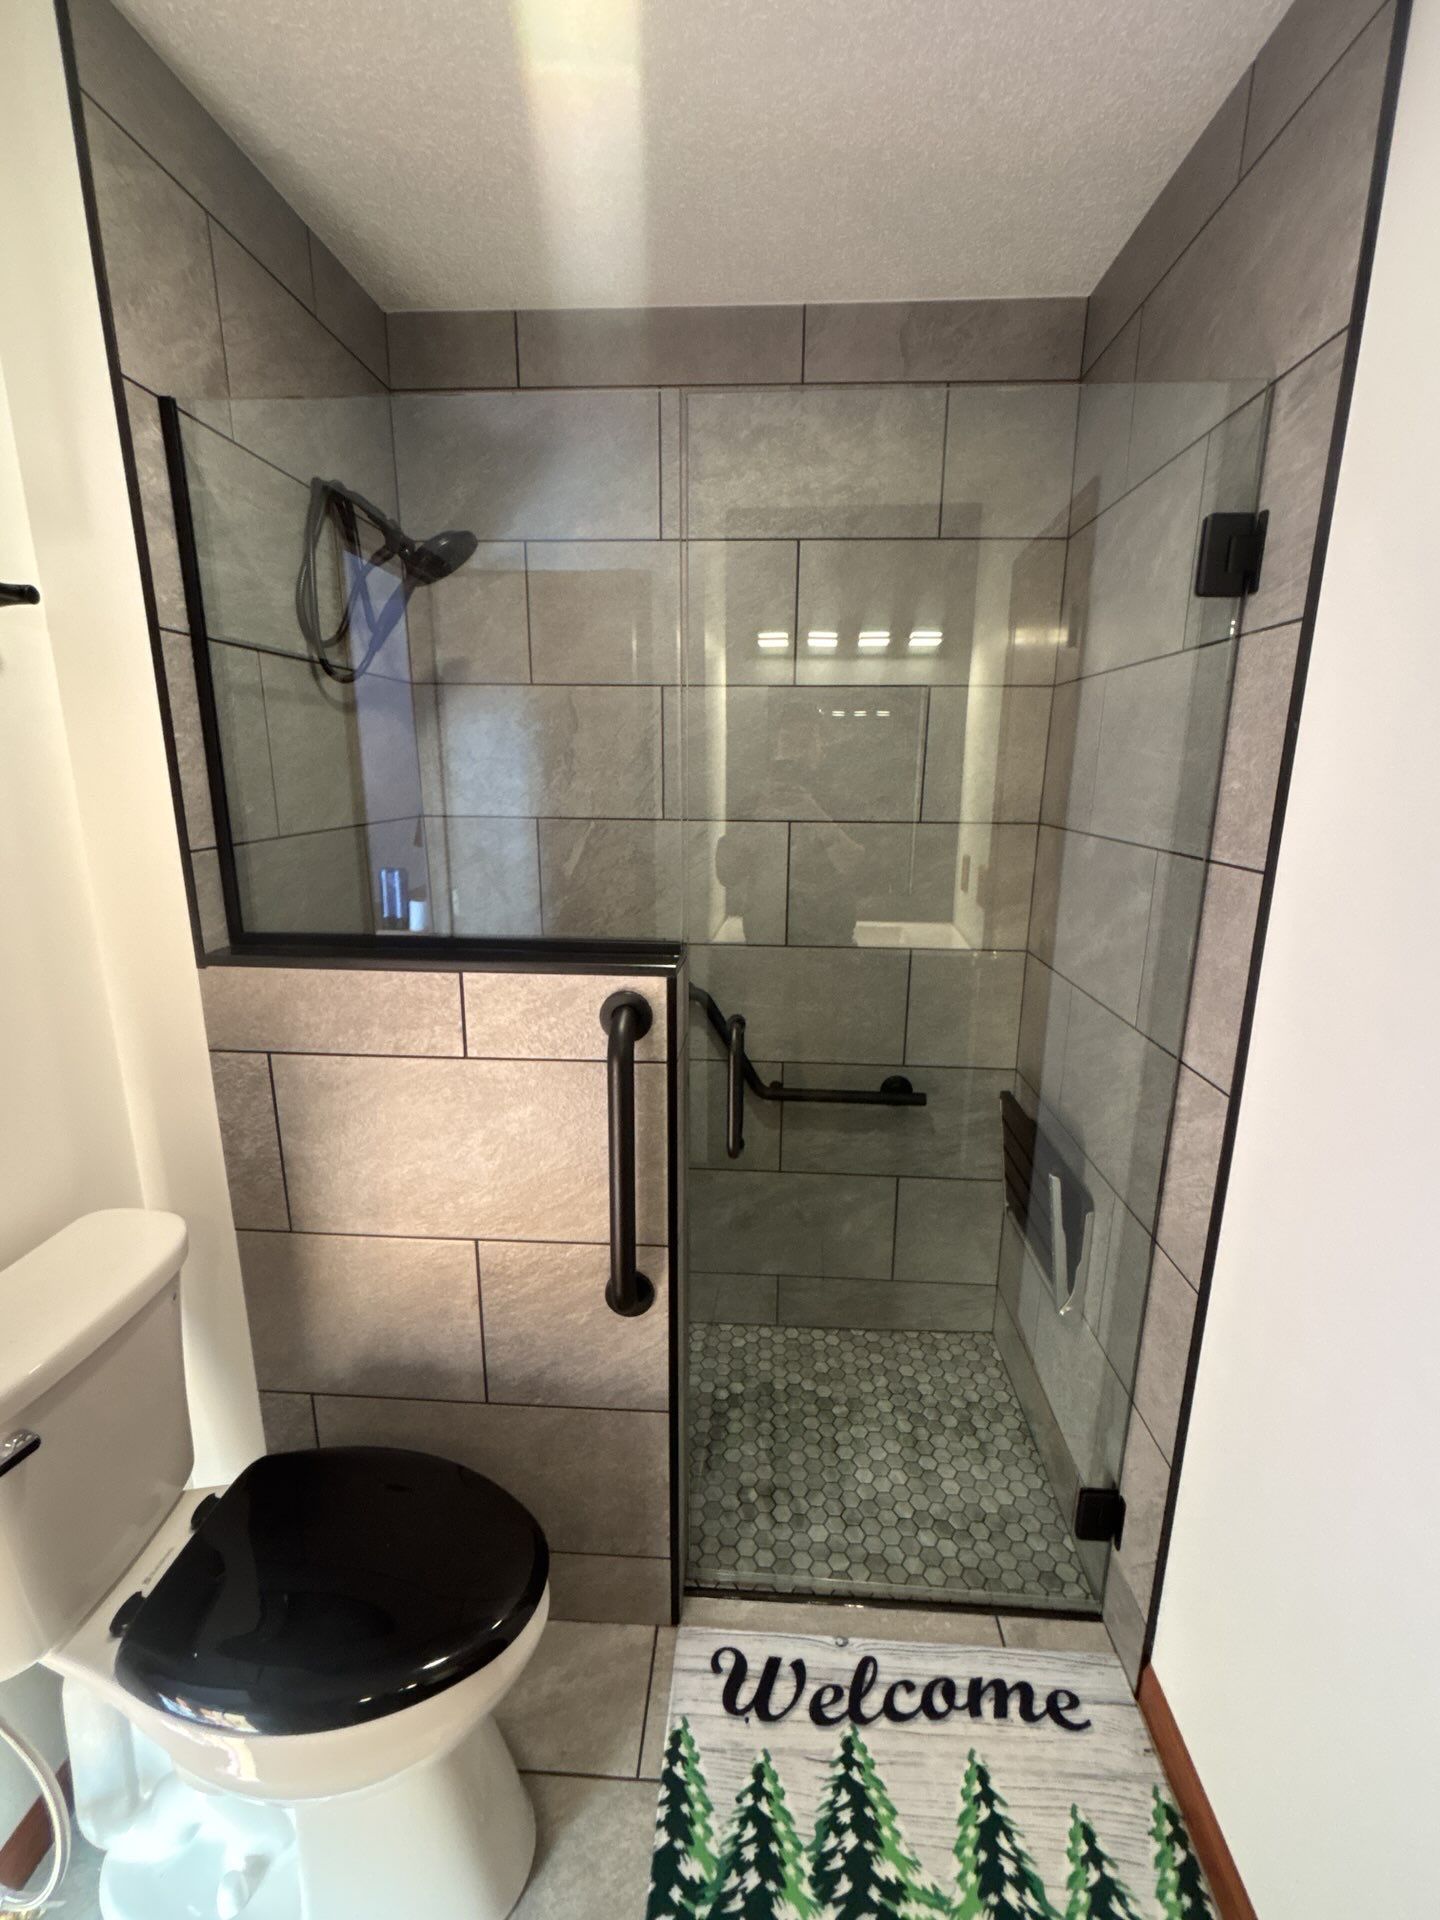
- Tile showers
- Curbed walk-in showers
- Curbless showers
This is the visible part of the remodel.
Depending on the selected shower system, installation may include:
- Tile
- Wall panels
- Shower fixtures
- Glass systems
- Accessories
At this stage, aesthetics and function come together.
Step 8: Install Fixtures & Final Accessories
The final installation stage includes all finishing details.
This may include:
- Shower valves
- Trim kits
- Shower heads
- Benches
- Niches
- Shelving
- Glass doors
This is where the shower truly comes to life.
Attention to detail matters heavily here.
Step 9: Final Testing & Quality Control
Before the project is complete, every component should be tested.
This includes:
- Drain performance
- Water flow
- Fixtures
- Seal integrity
- Overall function
Everything should be inspected to ensure the shower performs exactly as intended.
Why Most Shower Systems Fail
This is something homeowners need to understand.
Most shower systems do not fail because:
- Tile was installed poorly
or - Fiberglass cracked
Most shower failures happen because the waterproofing system underneath was compromised.
When waterproofing fails, water damage can remain hidden for years.
Sometimes even decades.
That hidden damage can eventually lead to:
- Rot
- Mold
- Structural damage
- Major repair costs
This is why proper installation matters so much.
Waterproofing Matters Just as Much as Appearance
A beautiful shower means very little if the system underneath fails.
The best shower installations focus on three major things:
- Proper preparation
- Strong waterproofing
- Quality craftsmanship
The finished aesthetic matters.
But the prep and waterproofing matter just as much—if not more.
Work with a Bathroom Contractor That Installs It Right
At Faze Construction, we build shower systems designed for long-term durability, beauty, and performance.
Our bathroom remodeling process focuses on:
- Proper demolition
- Structural inspections
- Plumbing checks
- Professional waterproofing
- Premium craftsmanship
If you’re considering a shower remodel in Fort Wayne, Indiana, our team can help.
Schedule Your Bathroom Consultation Today
Contact Faze Construction today to schedule your bathroom remodeling consultation and learn how to build a shower system that lasts.
Like This Post? Feel Free To Share It...
More Marketing Tips, Tricks & Tools
Our Blog Here At Faze Construction