Best Practices for Asphalt Shingle Roof Installation in Fort Wayne, Indiana (2026)
What is a good roof installation?
Best Practices for Asphalt Shingle Roof Installation in Fort Wayne, Indiana (2026)
When most homeowners think about a roof, they think about shingles.
But shingles are only one part of the system.
A properly installed asphalt roof is made up of multiple interlocking components that all work together to do one job:
Move water safely off the roof, into the gutter system, and away from your home.
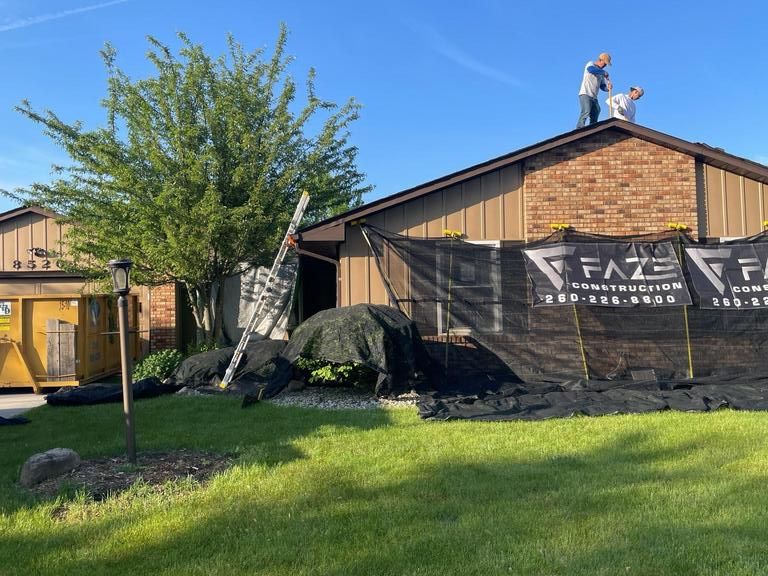
At Faze Construction, we believe the quality of a roofing system depends just as much on what’s underneath the shingles as the shingles themselves.
Let’s walk through the best practices for asphalt shingle roof installation in Fort Wayne, Indiana.
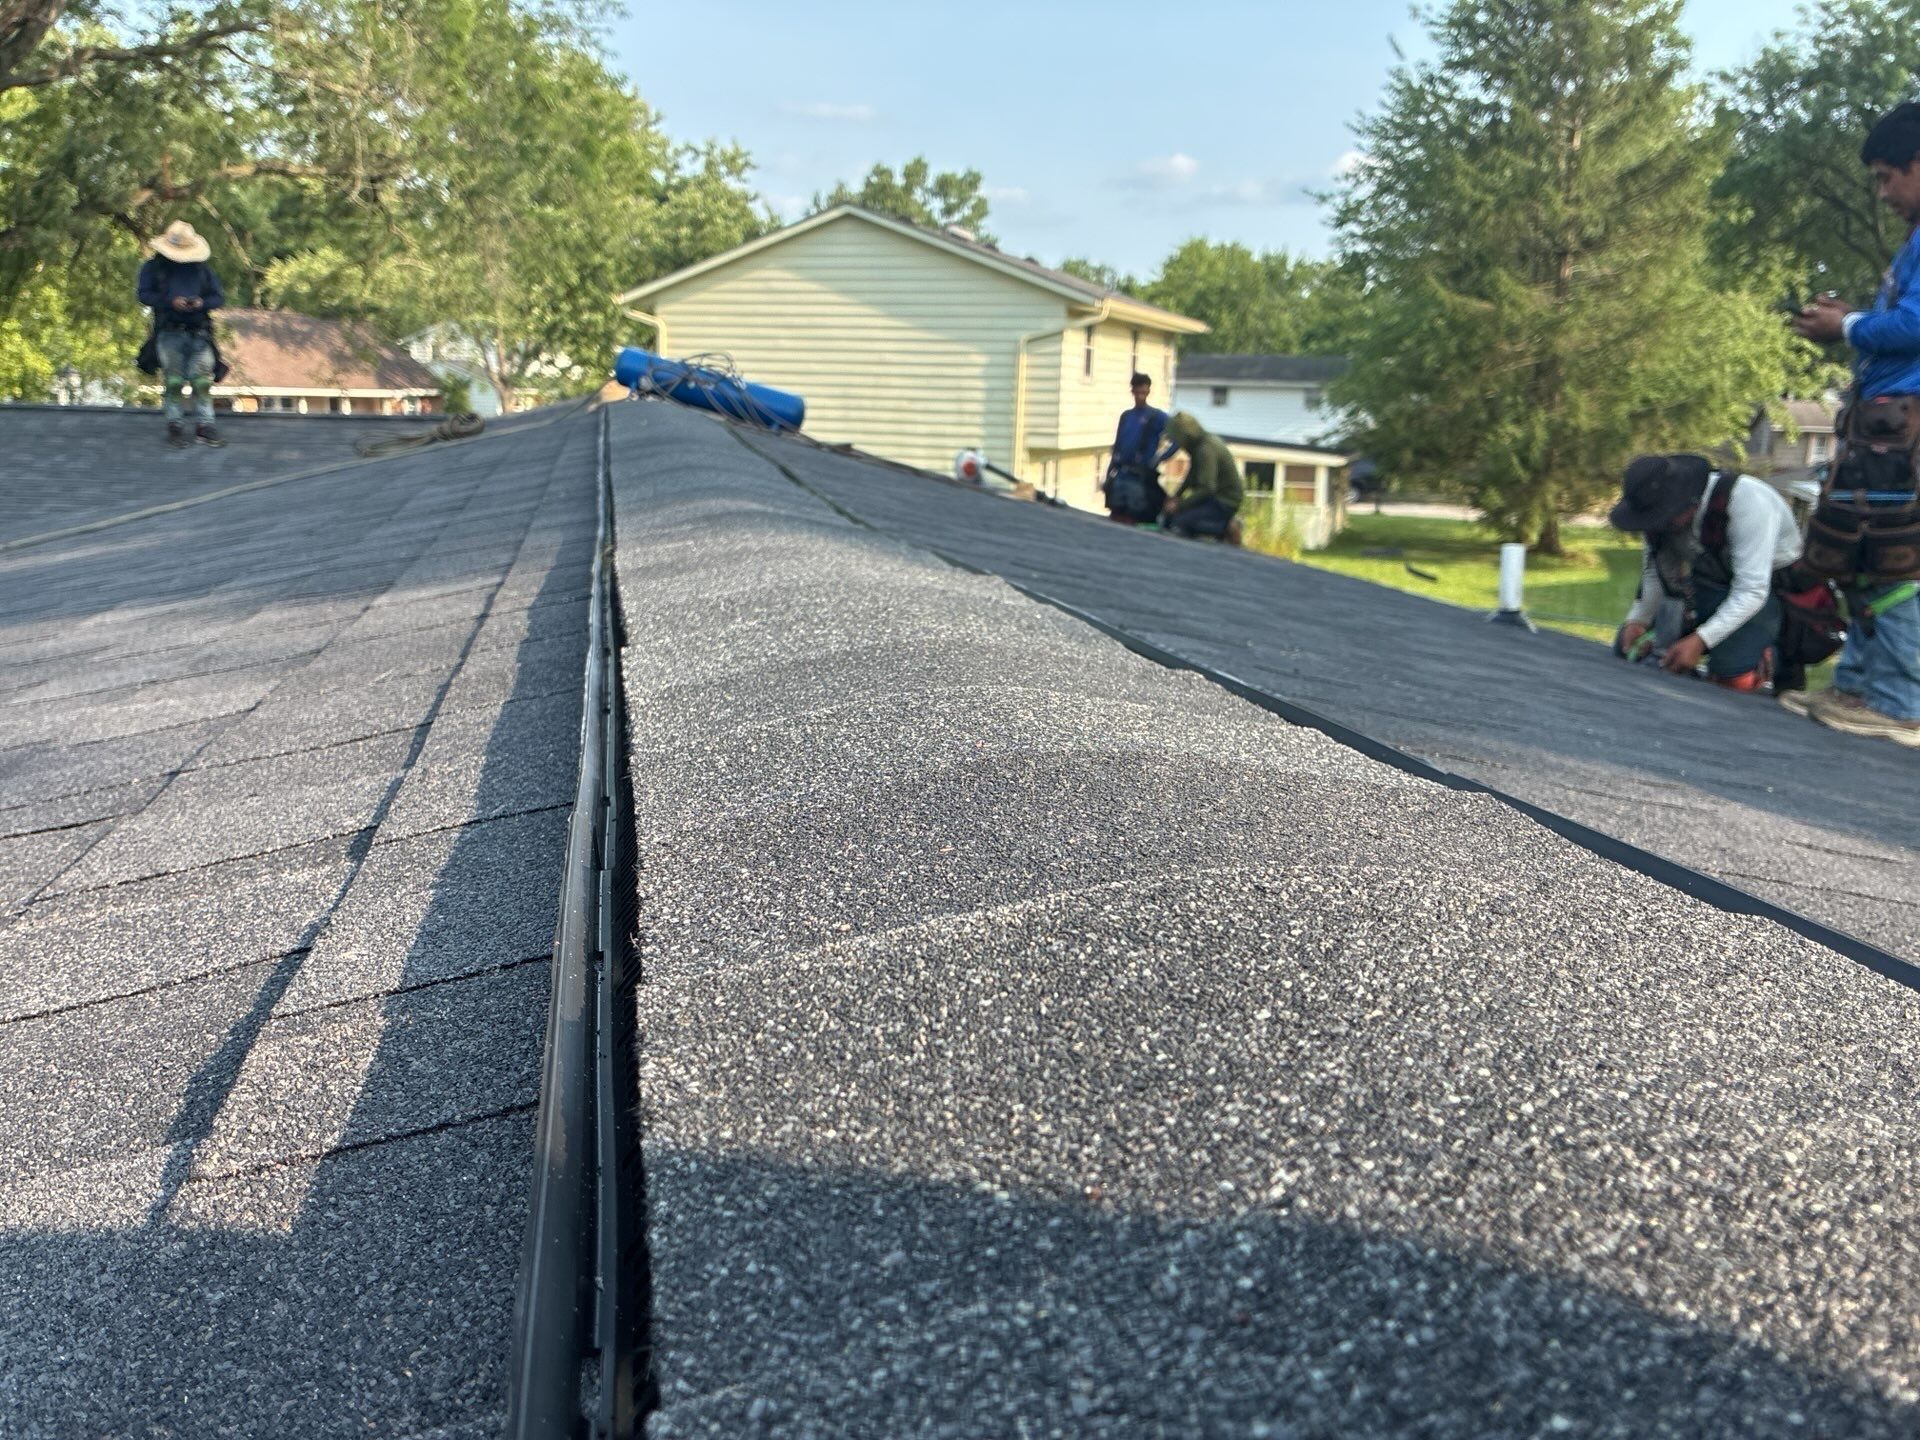
Step 1: Start with Proper Decking
Everything starts with the roof decking.
The decking is the structural wood surface attached to your rafters or trusses. This is what every roofing component gets installed onto.
Before installing a new roof, the decking must be thoroughly inspected.
Common issues we look for include:
- Wood rot
- Soft spots
- Water damage
- Mold
- Staining
- Delamination
Any compromised decking should be replaced before installation.
This is critical because the decking provides:
- Structural integrity
- Nail holding power
- Long-term roof performance
In Indiana, homes can generally have a maximum of two roofing layers. If a roof has multiple existing layers, it often must be torn down to bare decking before a new roofing system is installed.
Without solid decking, even the best shingles will fail.
Step 2: Install Gutter Apron
Once the decking is confirmed to be sound, the first metal component installed is typically the gutter apron.
The gutter apron sits at the eaves of the roof where the gutter line begins.
Its purpose is simple:
- Direct water into gutters
- Protect fascia wood
- Prevent water intrusion
Best practices include:
- Proper overlap between pieces
- Clean fastening pattern
- Avoid nailing too close to the edge
If nailed improperly, the metal can bow or flare, creating drainage issues.
Step 3: Install Ice & Water Barrier
Ice and water barrier is one of the most important waterproofing components in a roof system.
This adhesive membrane is installed at:
- Eaves
- Valleys
- Vulnerable leak areas
Its job is to protect against:
- Ice damming
- Water backup
- Wind-driven rain
In Fort Wayne and throughout Indiana, proper installation is especially important because of freeze-thaw cycles during winter.
Best practice is ensuring the membrane extends far enough past the interior wall line to protect against ice damming.
At Faze Construction, we commonly install:
- Two rows at the eaves
- Additional protection in valleys
- Extra protection around penetrations
Every layer should be installed with proper overlap so water sheds downward—not underneath the system.
Step 4: Install Synthetic Underlayment
Next comes synthetic underlayment.
Modern synthetic underlayment has largely replaced traditional felt paper because it performs significantly better.
Benefits include:
- Better moisture resistance
- Improved tear resistance
- Better durability during installation
- Longer-term performance
Synthetic underlayment should be installed with proper overlap as each course moves upward toward the ridge.
Best practice is using:
- Cap nails
or - Cap staples
Regular staples can create small tears that may allow water intrusion.
This layer acts as a critical secondary moisture barrier.
Step 5: Install Drip Edge on Rakes
Drip edge is installed along the rake edges of the roof.
This protects the roof edges and helps direct water away from the wood framing.
Best practices include:
- Proper overlap between metal pieces
- Clean fastening
- Proper placement over moisture barriers
Correct layering is extremely important because every roofing component must work together to move water downward and away from the home.
Step 6: Protect Valleys, Penetrations & Chimneys
These areas are some of the highest-risk leak points on any roof.
Roof Penetrations
This includes:
- Plumbing vents
- Exhaust vents
- Pipe boots
- Mechanical penetrations
These areas should receive extra waterproofing protection.
Chimneys
Chimneys require special attention.
For larger chimneys, a cricket should be installed behind the chimney to divert water around the structure.
Proper chimney waterproofing includes:
- Ice & water protection
- Step flashing
- Counter flashing
- Roofing-grade sealants
This layered protection is essential for long-term leak prevention.
Step 7: Install Starter Shingles
Starter shingles are installed around the roof perimeter:
- Eaves
- Rakes
This is a step many lower-quality contractors rush through.
Starter shingles help protect against:
- Wind uplift
- Crosswinds
- Water intrusion at edges
Best practice is snapping chalk lines to ensure clean, straight installation.
Proper starter installation significantly improves roof performance in high winds.
Step 8: Install Laminate Shingles
Now comes the visible roofing system—the shingles.
Proper shingle installation includes:
- Correct offset pattern
- Proper staggering
- Accurate nailing
- Straight courses
Each shingle course should be installed to maximize water shedding and wind resistance.
At Faze Construction, we strongly prefer a 6-nail pattern for superior wind resistance, even though many manufacturers only require four nails.
This provides stronger performance during Indiana storms and high-wind events.
Step 9: Proper Valley Installation
Valleys carry massive amounts of water.
This makes valley installation one of the most important parts of roofing.
Improper valley work is a major cause of roof leaks.
Whether using:
- Woven valleys
- Closed-cut valleys
- Open metal valleys
The installation must be precise to ensure proper drainage and durability.
Step 10: Ensure Proper Ventilation
Ventilation is one of the most overlooked components of roofing.
A high-quality roof system needs balanced airflow:
- Intake ventilation at the eaves
- Exhaust ventilation at the ridge
Without proper ventilation, homeowners can experience:
- Reduced shingle lifespan
- Excess attic heat
- Moisture buildup
- Ice damming
- Higher energy costs
A properly ventilated roof breathes and performs better.
This is critical in Fort Wayne where homes experience hot summers and cold winters.
Why Installation Matters More Than the Shingle
Many homeowners spend too much time comparing shingles and not enough time comparing installers.
The truth is simple:
Even the best shingle on the market will fail if the roof system is installed incorrectly.
That’s why choosing the right contractor matters.
A quality roofing company focuses on:
- Installation standards
- Code compliance
- Moisture management
- Ventilation
- Long-term performance
Not just putting shingles on a roof.
Work with a Roofing Contractor That Installs Roof Systems Correctly
At Faze Construction, we don’t just install shingles.
We install complete roofing systems designed to protect your home for decades.
Our process focuses on:
- Proper preparation
- Code-compliant installation
- Premium materials
- Long-term performance
If you’re considering a roof replacement in Fort Wayne, Indiana, schedule an inspection with our team.
We’ll show you exactly what your roof needs and help you make the best decision for your home.
Like This Post? Feel Free To Share It...
More Marketing Tips, Tricks & Tools
Our Blog Here At Faze Construction